Several months ago I created a blog post about some useful lighting guidelines. Since then I’ve put together some other guidelines that may prove useful. This comes from information other cinematographers have shared and some comes from personal experience.
I’ve gathered some steps that helps get your desired look.
Lighting steps :
1 What is the mood/concept?
2 Access Environment
3 Supplement Environment
4 Accent Light
5 Key light
6 Catch light
7 Back light
8 Fill
What is the mood or concept?
- Mood?, Story?, Character?
- Mysterious, Action, Introspective
Access environment

- Start with environment
- Is there natural light? Practicals?
- Set exposure for natural light
- Start wide, tighten up later
- Asses background light
Supplement Environment
- Add practicals where necessary to give the overall envoirment a feel or mood
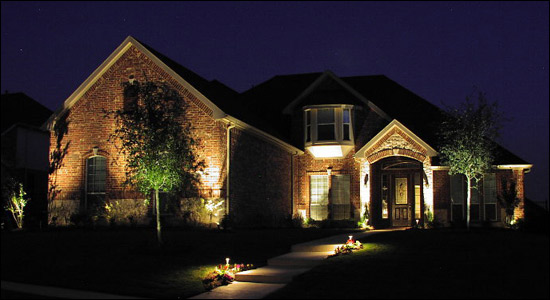
Accent lights
- little lights behind things = accent lighting
- Example : small light behind a sofa
Key Light

- Examine subject
- Turn on key light
- Take skin tone into account
Catch light
- Place a light to illuminate the eyes of your subject
Back light

- Seperate subject from BG
- Hard backlight and soft key renders good images
Take into account :

- Realism vs Stylization
- Soft vs Hard
- Control spill
“Using Gels”
- Light first then add gels after set up
- Key light : Neutral, Cool and Warm is best for skin
- Back light or Accent light : free being creative. Add more saturation etc.
- Background light : Again more freedom
- Ambient light : brings up overall light. Coloring this can produce amazing results. Best to match with background and background light
Pro tip : “Adding the beauty glow”
- Adding Glow : Underlight (Bounce board)
I hope these simple guidelines help you on your projects. I’ll continue gathering information and sharing what I experience during my journey in the film world.


